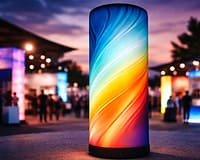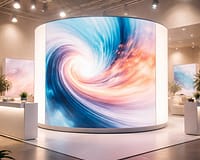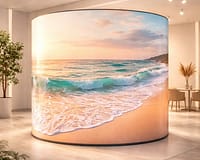
Excerpt: Master the Infinity DNA Pro Lightbox with confidence. This guide walks you through smart setup tips, optimal graphic installation, thoughtful configuration, and maintenance advice—helping you ensure consistency, efficiency, and visual impact across events.
Introduction
Unlocking the full potential of the Infinity DNA Pro Lightbox means much more than just snapping frame pieces together. Whether you’re preparing for a trade show or optimizing your booth setup workflow, applying tested best practices for Infinity DNA Pro Lightbox can save time, reduce errors, and elevate visual impact.
1. Organize and Audit Components
Start by unpacking all elements—frame sections, LED modules, power supplies, jumper cables, and the silicone-edge graphic (SEG). Lay them out methodically and match quantities against your packing list to prevent missing parts or setup delays. This five-minute check streamlines assembly and avoids frustration on busy event floors (expobanners.com.au).
2. Use Tool‑Free Frame Assembly Efficiently
The aluminum frame is engineered for fast, tool-free assembly. Press-fit joints click together securely—begin with the base rails, then verticals, and complete with headers. Always assemble the frame fully on the ground before raising it upright to ensure alignment (expobanners.com.au).
3. Install SEG Graphics with Precision
Segmented silicone-edge graphics require careful handling. Insert the silicone along two corners to anchor tension, continue on the shorter sides, and finish with the longest edge. If wrinkles arise, ease the silicone out by a hand’s width and reseat—never pull diagonally. And storing SEG graphics rolled, not folded, minimizes crease memory (expobanners.com.au).
Also, rotating the silicone so the graphic faces inward before insertion ensures a taut, professional fit. Inserting the wrong side first leads to loose appearance and poor tension (productionprints.com).
4. Double‑Check Electrical Connections
Your kit includes pre-fitted LED lighting and power connectors, but poor contact can lead to dim or non-functioning panels. Ensure each plug is firmly seated—apply additional pressure if necessary (productionprints.com).
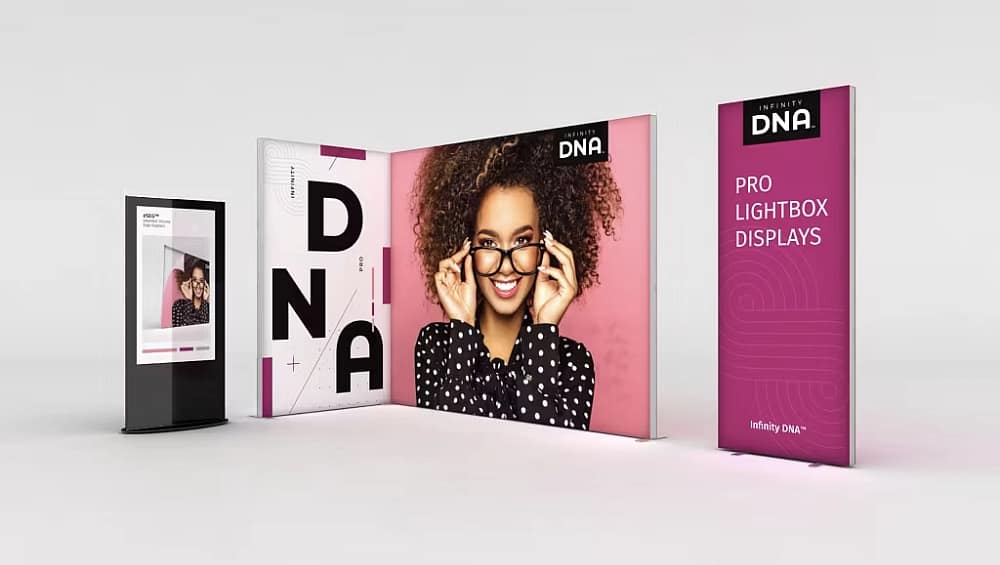
5. Leverage Modularity and Accessories
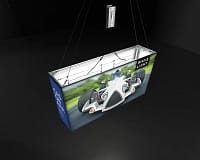
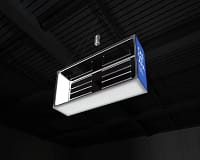
Infinity DNA Pro displays come in standard widths—3, 4.5, and 10 feet—yet offer versatility through modular connectors and mix-and-match configurations. Use optional 90° brackets to build side walls, combine multiple units for wide backdrops, or install curtains behind panels for discreet storage or dressing areas (tradeshowdisplaypros.com).
6. Care for Your Graphics Post‑Event
Even though SEG fabrics stretch tight for display, undulations or minor wrinkles remain after transport. The most effective remedy is gentle steaming post-setup for a smooth finish and clean appearance (tradeshowdisplaypros.com).
7. Run Setup Rehearsals & Train Staff
Standardizing setup across teams ensures speed and consistency. Train staff using a checklist: component audit, frame assembly, SEG installation, electrical connection, and lighting check. After training, a single unit can typically be assembled in under 10 minutes (expobanners.com.au).
8. Know Your Electrical Compatibility
Note that kits sold in the U.S. are configured for the U.S. electrical system. Using them in Europe or other regions without appropriate transformers risks damage or failure. Always verify compatibility or source region-specific power adapters (productionprints.com).
Conclusion
Implementing these best practices for Infinity DNA Pro Lightbox ensures a seamless, efficient setup that maximizes visual impact. From components organization and tool-free assembly to precise SEG handling and electrical checks—each step contributes to stress-free operations. Train your display team, rehearse the workflow, and you’ll consistently deliver sharp, bright, and professional backlit visuals.